
How to add a new job
Step 1. Select “Jobs” from Settings
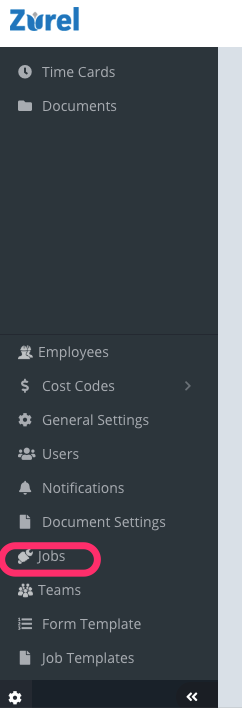
- “Settings” menu can be found at the bottom of the menu bar on the left.
- Selecting it will open the “Jobs” page.
Step 2. Select “Add Job.”
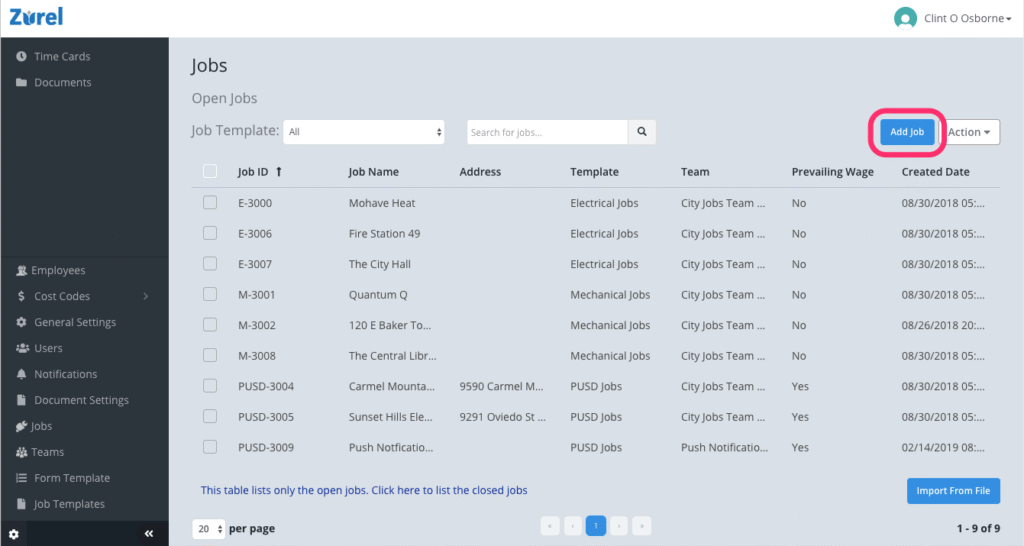
Select the “Add Job” button to launch a dialogue box to add a new job.
Step 3. Select a job template, give it a name, and select “YES” or “NO” for prevailing wage.
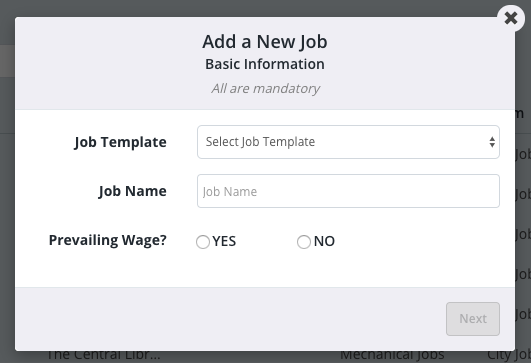
- Job Template: Select a job template. Jobs are created based on templates. See “Job Templates” for more information.
- Job Name: Specify a name for the job.
- Prevailing Wage: Either “YES” or “NO” is selected by default based on the template. However, you may change the default selection.
Select Next for the next step.
Step 4. Enter additional job information
Note: This step is available only if the job requires additional information
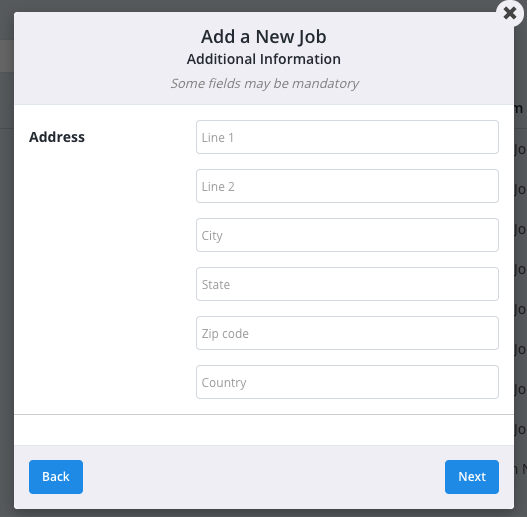
- Enter the additional information about the job.
- The information needed depends on the template selected.
- Each mandatory field, if any, is indicated by an asterisk “*”.
Select Next for the next step.
Step 5. Select team(s) and save
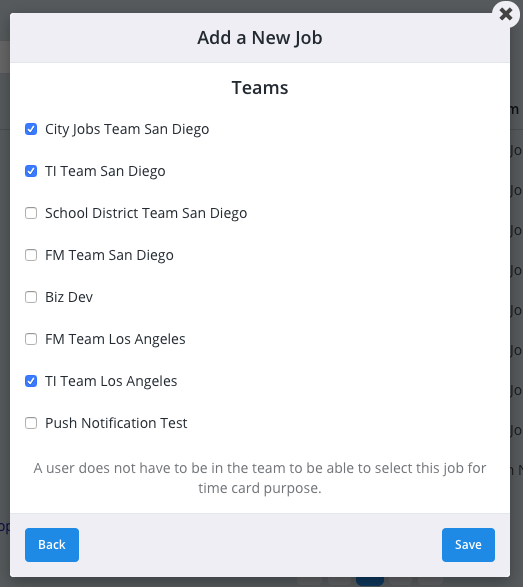
- Select the team(s) that need to have access to the job’s documents.
- Team members as specified in the job’s template are selected by default.
- You may change the default selection.
Select “Save” to add the job.