
Using Page Breaks to Control PDF Pagination in Scope Document
This guide explains how to insert Page Breaks within scope document to control where a new page begins in the exported PDF—without affecting how the document appears in Scope Maker.
Steps
- Go to the Bid Packages workspace.
- Click Projects in the left navigation.
The Project Dashboard opens, showing all existing projects. - Select the project and open the document where you want to add a Page Break.
Ensure the document is in Editing Mode.
To add pagination in a template, go to Library → Templates and open an editable template. - The Document Preview opens.
- Click the line item or the location where you want the new page to begin in the PDF.
- Open the line item’s Actions Menu.
- If the menu is expanded, click Edit as shown in the image below.
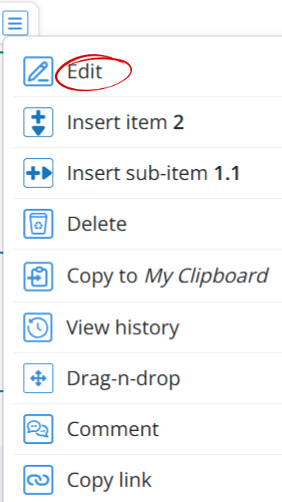
- If the menu is collapsed, click the Edit icon as shown in the image below.

- You can also double-click the line item to open the editor.

- The editing toolbar will then appear, place your cursor in the line item content where you want the page break, then click the Page Break icon from the editing toolbar to insert it as shown in the image above.
A Page Break indicator will appear in the content area, showing where the new page will start in the PDF. - Click Save to apply the change, or click Save and add next to continue editing additional items.
Your Page Break is now added and will control pagination in the generated PDF.
💡 Tip
- Use Page Breaks before major sections (such as new divisions or specification groups) to keep your PDF organized and easier to review.
BP-059